Unit 3 Project Choices - Biography
| Site: | Cowichan Valley School District - Moodle |
| Course: | ELA5, CSS, Sferrazza |
| Book: | Unit 3 Project Choices - Biography |
| Printed by: | Guest user |
| Date: | Friday, 2 January 2026, 12:52 AM |
Publishing Choices
You have put a lot of effort into your biography and submitted your draft to your teacher for review. You have also looked at many examples of nonfiction text that had some impressive text features that really made it more appealing. For this project you will:
- Publish your biography
- Create a timeline to go with it
Explore all of your publishing options before choosing one. Choose one and make sure you will be able to find a way to share it with your teacher. If you make a big poster, you may need to take pictures of it to send in if you live far away.
You will need to include:
- cover page or title
- your written work with headings
- bibliography
- additional nonfiction text features - be creative in your use of images, captions, labels, sidebars - but be sure what you add is relevant. This means it relates to the topic. Also, be sure any written work is edited.
- timeline (can be submitted separately or included in "magazine")
Be neat! If working by hand, use a ruler when needed. Take your time!
Magazine/Book Format
Your biography has the chance to be featured in a special magazine dedicated to your person alone! You can have a cover page and up to three more pages to create this magnificent feast for the eyes and mind. You can get creative with headings, images, captions, a text box with an "interesting fact feature", or even a sidebar or page for your timeline, if you wish.
-
This can be done:
- on paper
- on a computer document
This must include:
- cover page
- your written work with headings
- bibliography
- timeline (can be submitted separately or included in "magazine")
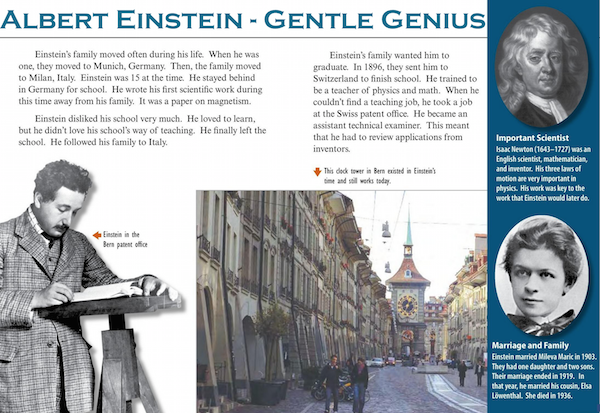
Notice the title and text features (pictures, captions, sidebar, labels) on this page about
Albert Einstein.
Poster Format
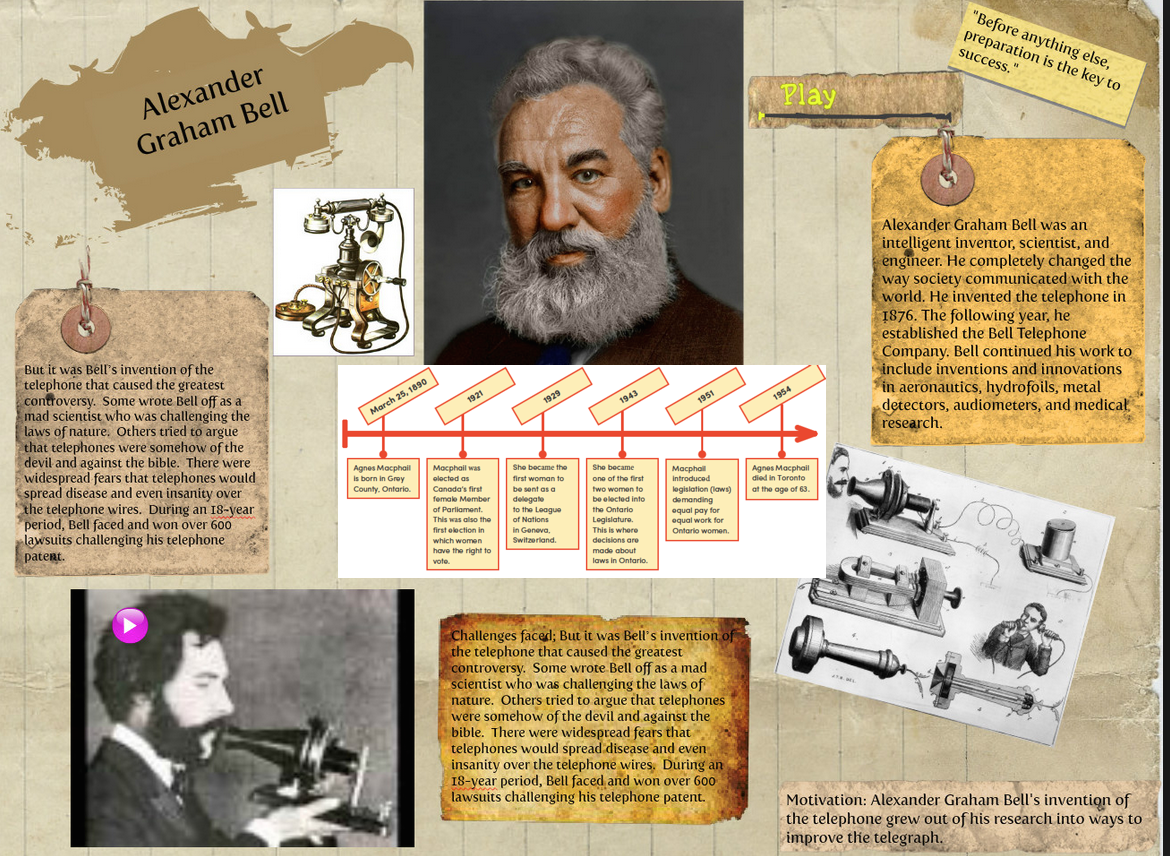
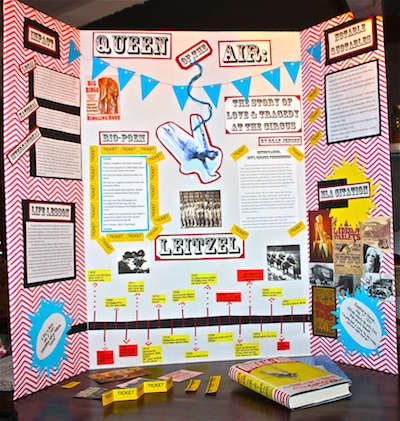
Creating a poster can use a combination of work done by hand and work done on the computer. It is fun to use nice papers if you have them on hand. Notice the text features still have an important job: pictures, captions, labels, titles, headings. The displays on both of these have clever features. Bell's is made to look "old fashioned" and Leitzel's (an acrobatic artist) resembles a circus. Bibliographies can go on the back or tucked onto the page somewhere.
Alexander Graham Bell Project With Timeline
Lillian Leitzel Project with Timeline
Slide Show
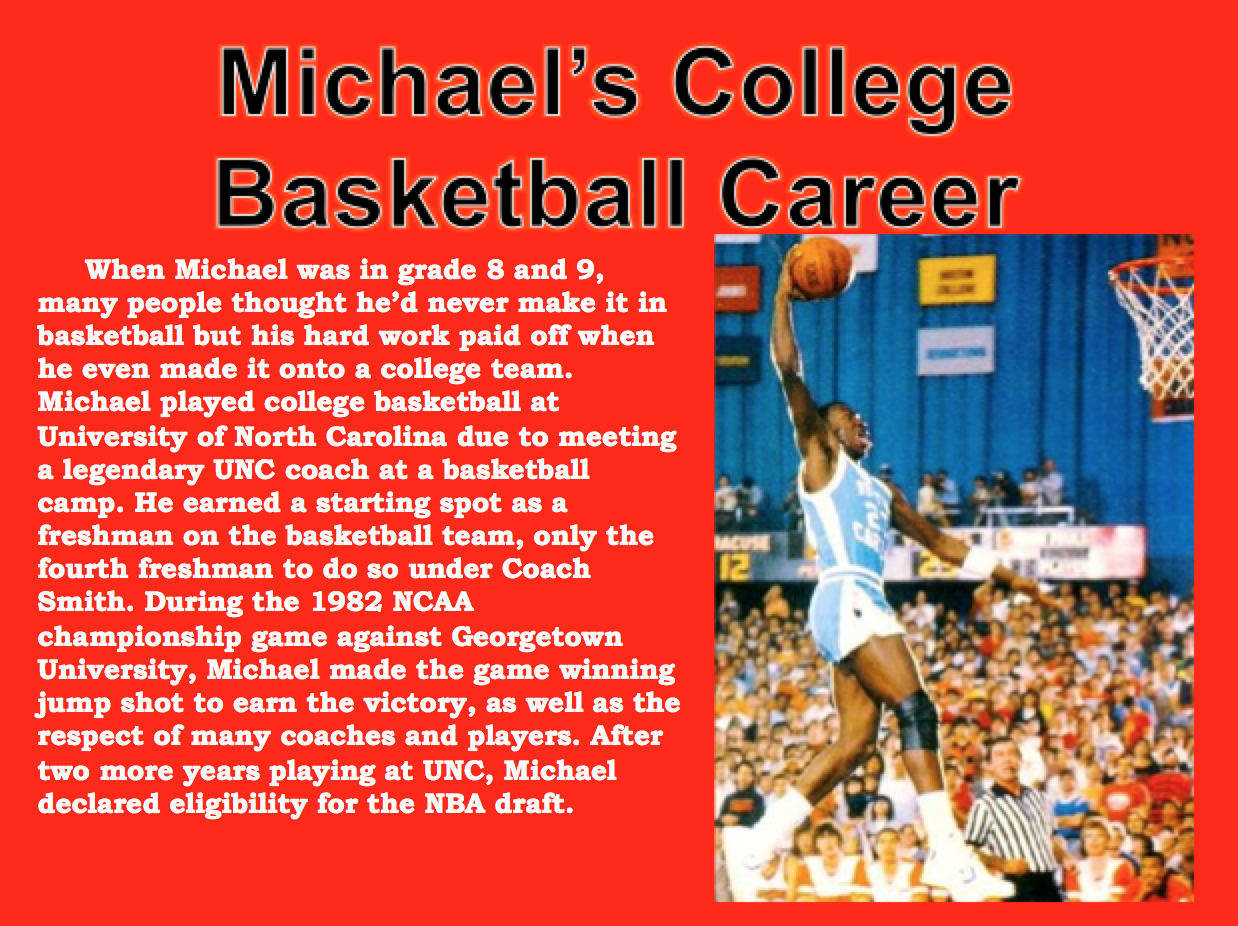
Creating a slideshow with powerpoint (from microsoft office) or presentation (from open office - available free at openoffice.org) can be fun if you have help learning how to use the tools. Here is a page from a slide show on Michael Jordan. It has the heading, text, and a picture. A slide show has several pages. There would be one for the cover, one for each section, one for a bibliography, and if you made a timeline in word or by hand, you could take a picture and put it on a page in a slideshow as well (or hand it in separately).
Video
This is a VERY challenging option for which you need access to technology and perhaps to a "techy" home facilitator. Your video would include your report (either spoken and recorded, on the screen to read, or both), pictures (or you dressed up in costume), and end with your bibliography floating across the screen - maybe or maybe not followed by your own credits (directed by, assisted by).
NOTE: Never post videos on Youtube without parent consent. If together you decide to post something for school, don't give away your personal information in credits or beginning screens. Also, if you set the privacy to "unlisted", you can send the teacher the link but your video won't show up when random people search for a topic. NEVER post videos with personal information and never do this without parent consent. You could also use a dropbox to share video with your teacher or, if you live near the school, take your laptop or tablet and show it to your teacher yourself.
The Timeline
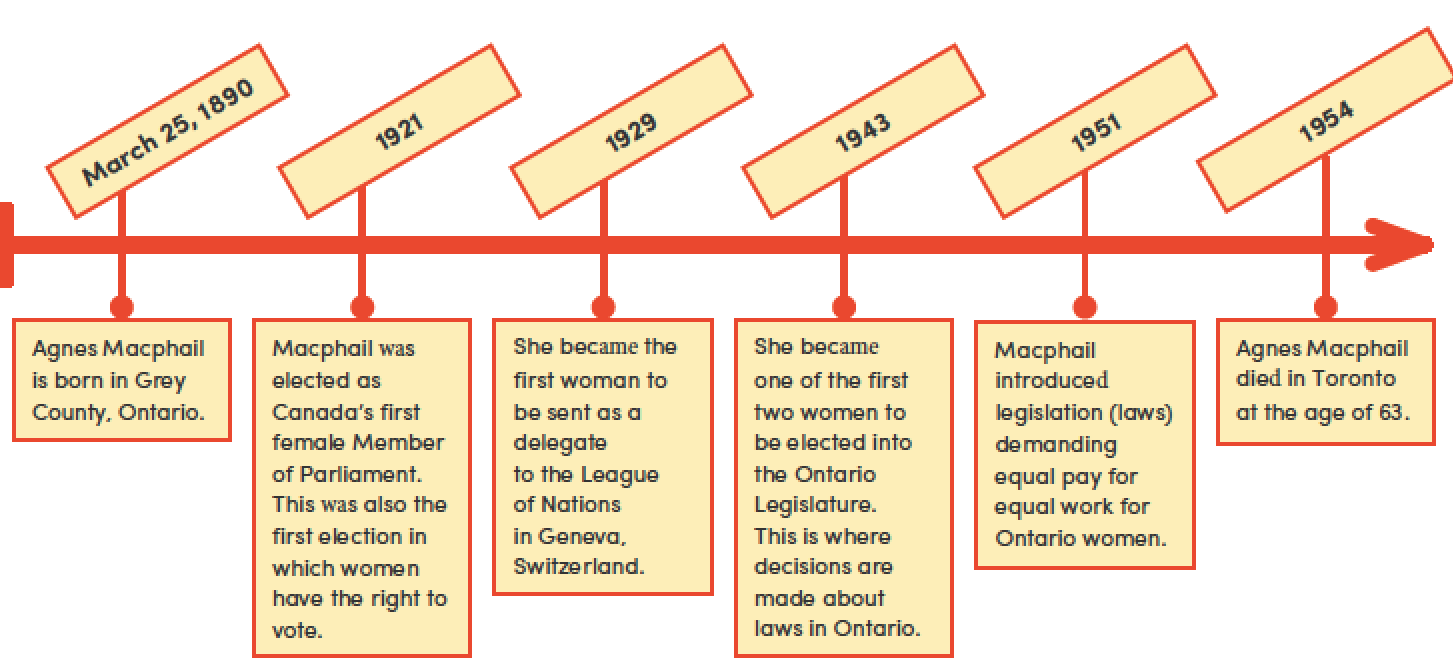
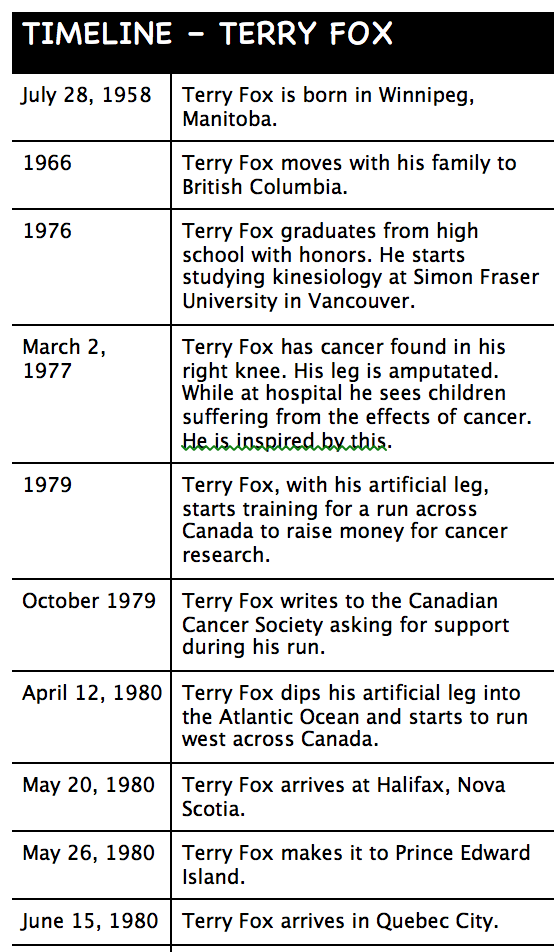 Create a timeline with 5 or more events from your biography subjects life. Your timeline can be horizontal or vertical.
Timelines can be made in a word processing document.
- Your Terry Fox notes in your Learning Guide were placed on a table. Tables are really good for organizing information.
- You can use "Smart Art". There are lots of tutorials on this.
Timelines can be made by hand. If so, always use a ruler!
Be creative! Have fun! You can see to the right a timeline for Terry Fox and below is a timeline for Agnes Macphail. Below that is a short video that may be helpful.
